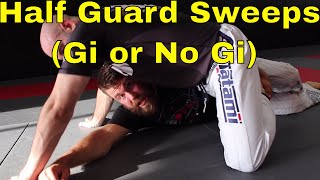


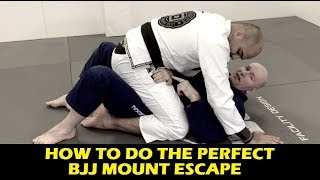


BJJ Lesson 34: Why We Did Not Teach The Bridge and Roll Escape From Mount – Fundamentals Of Escaping
In this BJJ Lesson 34, we delve into the fundamentals of escaping the mount position and explore the reasons why the bridge and roll escape is not commonly taught. The bridge and roll escape is a classic technique that many beginners learn early on in their Brazilian Jiu-Jitsu journey. However, as we progress and gain a deeper understanding of the mount position, we realize that this escape may not always be the most effective option.
The mount position is a dominant position where the top person is straddling the bottom person’s chest, with their knees pinning the arms down. It is a highly advantageous position for the person on top, as they have control and can easily transition into various submissions or maintain control for extended periods. As the person on the bottom, our goal is to escape this position and regain a more favorable position.
The bridge and roll escape involves bridging our hips off the ground and rolling over our shoulders to reverse the position. While this technique can be effective against less experienced opponents or in certain scenarios, it has its limitations. One of the main drawbacks is that it requires a significant amount of strength and explosiveness. Additionally, it can be easily countered by an experienced opponent, who can maintain their base and prevent us from completing the escape. This can lead to wasted energy and provide our opponent with more opportunities to submit us.
Instead of solely relying on the bridge and roll escape, this video introduces alternative escape techniques that focus on creating space, disrupting our opponent’s balance, and regaining control. These techniques are based on sound principles of leverage and positioning, making them more efficient and effective against a variety of opponents.
By understanding the mechanics of the mount position and exploring different escape options, we can develop a more well-rounded defensive game. This video aims to provide a comprehensive breakdown of the mount escape fundamentals, equipping practitioners with the knowledge and tools to escape the mount position successfully.
Whether you are a beginner looking to improve your mount escapes or an experienced practitioner seeking to refine your technique, this BJJ Lesson 34 is a valuable resource. Join us as we dive deep into the intricacies of escaping the mount position, exploring the reasons why the bridge and roll escape may not always be the best option, and discovering alternative techniques to enhance our defensive game. Don’t miss out on this opportunity to elevate your BJJ skills and become a more formidable opponent on the mats.