Skip to content
Contact us
Login
Join Now
Submission Searcher BJJ

Submission Searcher BJJ
  • Home
  • Chokes
    • Chokes
      • Front Headlock Series
      • Front Headlock Series (Bottom)
      • Head and Arm Chokes (Arm-Triangle Chokes)
      • Leg Triangle Chokes
      • Miscellaneous Chokes
      • North-South Chokes
      • Rear Chokes
      • Side Control Chokes
    • Gi Chokes
      • Collar Chokes (Back-Takes)
      • Collar Chokes (Closed Guard)
      • Collar Chokes (Open Guard/De La Riva)
      • Collar Chokes (Side Control/Knee on Belly)
      • Lapel Lasso/Spider Guard Chokes
      • Lapel/Worm Guard Chokes
      • Miscellaneous Gi Chokes
    • Guillotine Choke
      • Arm-Triangle to Mounted Guillotine
      • Anaconda to Guillotine Roll
      • Counter Single Leg to Flying Guillotine
      • Flying Guillotine
      • Guillotine Choke Entry
      • Guillotine Crank
      • Guillotine to D’arce Transition
      • Guillotine from Half Guard
      • Rubber Guard to Guillotine
    • Crucifix Chokes
      • Standard Crucifix
      • Reverse Crucifix
    • Turtled Opponent Chokes
      • Gi-Based Chokes
      • No-Gi Chokes
    • Flying Chokes
      • Flying Armbar
      • Flying Guillotine
      • Flying Triangle
  • Joint locks
    • Arm locks
      • Arm Bars
      • Compression Locks
        • Arm Crush
        • Bicep slicer
        • Forearm Slicer
        • Tricep Slicer
    • Shoulder Lock
      • Americana Variations
      • Kimura Variations
      • Plata Variations
      • Miscellaneous Variations
    • Spinal locks
      • Full Spine
      • Lumbar
      • Neck/Cervical
      • Thoracic
    • Wrist Locks
      • Straight Wrist Locks
      • Bent Wrist Locks
      • Rotational Wrist Locks
      • Twisting Wrist Locks
      • Compressive Wrist Locks
      • Miscellaneous Wrist Locks
    • Combinations
      • Arm & Neck
  • Grappling
    • Guard
      • Side Control
      • Closed Guard
      • De La Riva Guard
      • Reverse De La Riva Guard
      • Guard Retention
      • Guard Variations
      • Lasso Guard
      • Open Guard
    • Mount
      • High Mount
      • Low Mount
      • S-Mount
      • Technical Mount
      • Back mount
    • Guard passing
      • Guard Break Responses
      • Guard Recovery
      • Top Guard Passes
      • Top Guard Pass Variations
    • Half Guard
      • Half Guard
      • Deep Half Guard
      • Z-Guard (Knee Shield)
      • Lockdown
    • Butterfly Guard
      • Basic Butterfly Sweep
      • Butterfly to Deep Half Guard Entry
      • Butterfly to Half Guard Transition
      • Butterfly to SLX (Single Leg X) Transition
      • Butterfly to X-Guard Transition
      • Shin-to-Shin Guard Entry
      • Single Leg from Butterfly
    • Back mount
      • Body Triangle
      • Foot on Hip Escape
      • Hooks in
      • Shoulder to Mat Bridge and Roll
      • Two-on-One Hand Control
    • Bottom Mount
      • Elbow Escape
      • Foot Drag to Half Guard
      • Upa/Bridge and Roll
    • North south
      • Basic North-South Position
      • North-South Choke
      • North-South Chokes
      • Armbar from North-South
    • Other Positions
      • Knee on belly
      • Rubber Guard
      • Spider Guard
      • Turtle Position
      • Wrestling Positions
      • X-Guard
    • Back Control Variations
      • Over-Under Grip
      • Seatbelt Grip
  • Takedowns & Sweeps
    • BJJ Takedowns
      • Berimbolo to Back Take
      • Collar and Ankle Pick
      • Collar Drag
      • Elevator Hook Sweep
      • Hip Bump Sweep
      • Flower Sweep (Pendulum Sweep)
      • Knee Tap
    • GI Takedowns
      • Collar and Sleeve Trip
      • Belt Grip Sumi Gaeshi
      • Lapel and Ankle Pick
      • Lapel Feed to Back Take
      • Double Lapel Grip Takedown
      • Cross Grip Takedown Variations
    • Sweeps
      • Closed Guard Sweeps
      • Half Guard Sweeps
      • Open Guard Sweeps
      • Scissor Sweep
      • Tornado Sweep
      • Single Leg X-Guard Sweep
      • X-Guard Sweep
      • Deep Half Guard Sweep
    • Throws
      • Sumi Gaeshi (Corner Counter)
      • Ushiro Goshi (Rear Hip Throw)
      • Ashi Guruma (Leg Wheel)
      • Deashi Barai (Advancing Foot Sweep)
      • Harai Goshi
      • Kata Guruma (Shoulder Wheel or Fireman’s Carry)
    • Wrestling takedowns
      • Single Leg Takedowns
      • Double Leg takedowns
      • Arm Drag
      • Bear Hug
      • Granby Roll
      • Inside Trip
      • Peterson Roll
      • Snap Down
  • Leg Attacks
    • Leg Lock Positions
      • 50/50 Guard
      • 50/50 Ankle Lock
      • 50/50 to Inside Sankaku (Honey Hole)
      • Inside Sankaku (The Saddle)
      • Outside Sankaku
      • DOJ (Double Outside Jeopardy)
    • Ashi Garami
      • Outside Ashi Garami
      • Cross Ashi Garami
      • Inside Ashi Garami
      • Reverse Ashi Garami
      • Floating Ashi
    • Leg lock Submissions
      • Leg locks
      • Calf Slicers
      • Estima Lock
      • Ankle Locks
      • Kneebars
    • More Leg lock Submissions
      • Shin Locks
      • Toe Holds
      • Hip Locks
      • Leg Knot / Game Over
    • Heel Hooks
      • Inside Heel Hook
      • Outside Heel Hook
      • Inverted Heel Hook
      • Reverse Heel Hook
  • S&C for BJJ
  • All Videos
    • Gi or NoGi
      • Gi
      • No Gi
      • MMA
    • Belt Level
      • White Belt
      • Blue Belt
      • Purple Belt
      • Brown Belt
      • Black Belt
    • Attack or Defence
      • BJJ Attacks
      • BJJ Defences
  • Contact us
  • Checkout
  • Submit A technique
0

Learn How to Escape Side Control with Frame and Hip Escape – BJJ Lesson 28

Not Watched
Signup Free to Track Progress

Great job! Want to learn more?

Master the Ultimate Side Control Escape Combo – Don’t Let Your Opponent Catch You Off Guard!

Master the Ultimate Side Control Escape Combo – Don’t Let Your Opponent Catch You Off Guard!

The Simplest Side Control Escape: A Step-by-Step Guide

The Simplest Side Control Escape: A Step-by-Step Guide

How to Escape Side Control in Jiu Jitsu: 3 Effective Techniques

How to Escape Side Control in Jiu Jitsu: 3 Effective Techniques

Become a Ghost Escape Artist from Half Guard Bottom in Brazilian Jiu-Jitsu

Become a Ghost Escape Artist from Half Guard Bottom in Brazilian Jiu-Jitsu

Darce Choke: How to Escape the Ghost’s Grip

Darce Choke: How to Escape the Ghost’s Grip

Essential Details for an Unforgettable GHOST Escape Experience

Essential Details for an Unforgettable GHOST Escape Experience

The Unstoppable “Phantom” ESCAPE: 150lbs vs 260lbs and Still Works!

The Unstoppable “Phantom” ESCAPE: 150lbs vs 260lbs and Still Works!

The Unstoppable Ghost Escape: A Thrilling Adventure You Can’t Miss

The Unstoppable Ghost Escape: A Thrilling Adventure You Can’t Miss

Explore More Techniques

Free Sign Up to track your progress & more!

Sign in / Register Free
Home › Positional Grappling › Side Control › Side Control Bottom Responses › Frame and Hip Escape › Learn How to Escape Side Control with Frame and Hip Escape – BJJ Lesson 28

Video length

00:09:01

Technique type

Frame and Hip Escape, Positional Grappling, Side Control, Side Control Bottom Responses

Attack/defence

BJJ Attacks

Belt Level

Blue Belt

Gi, No Gi, MMA

Gi, No Gi

Youtube Channel

RVV BJJ

WHY SIGN UP?

Free sign up gives you access to
8089
Video Techniques FREE
See your watch history
Stats on each category
Graphs and Watch Progress
Leader Boards
Plus much more to come
Sign in / Register Free

RELATED ATTACKS

Darce Choke: How to Escape the Ghost’s Grip
8:34
Video Thumbnail
Belt Level: Blue Belt
The Unstoppable “Phantom” ESCAPE: 150lbs vs 260lbs and Still Works!
20:31
Video Thumbnail
Belt Level: Blue Belt
Become a Ghost Escape Artist from Half Guard Bottom in Brazilian Jiu-Jitsu
0:35
Video Thumbnail
Belt Level: Blue Belt
Essential Details for an Unforgettable GHOST Escape Experience
20:55
Video Thumbnail
Belt Level: Blue Belt

RELATED DEFENCES

No related techniques found.

Spread the love

BJJ Lesson 28: Side Control Frame and Hip Escape – Fundamentals Of Escaping

In this highly informative BJJ lesson, we delve into the crucial art of escaping the side control position. Renowned BJJ instructor, Professor John, breaks down the fundamentals of the side control frame and hip escape, providing you with essential techniques to regain control and turn the tables on your opponent.

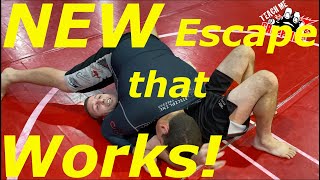
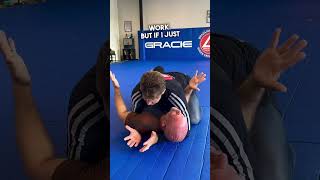
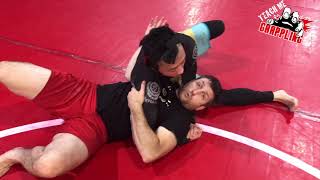
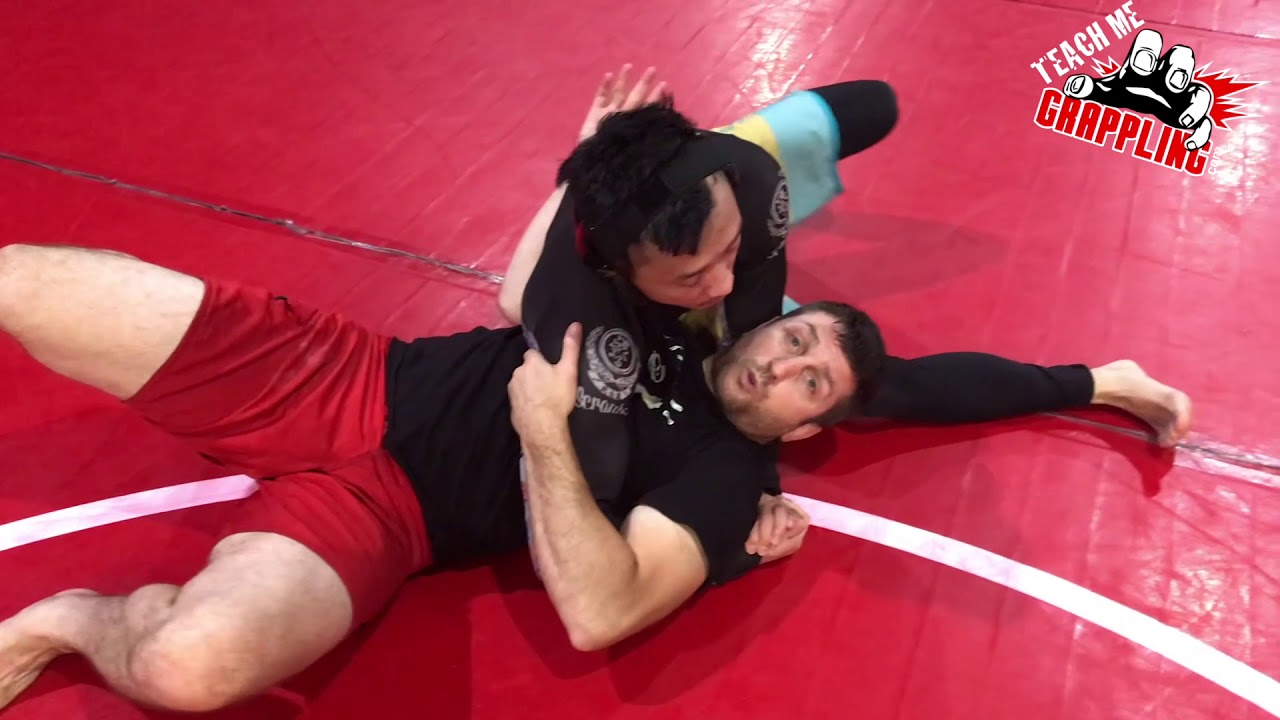
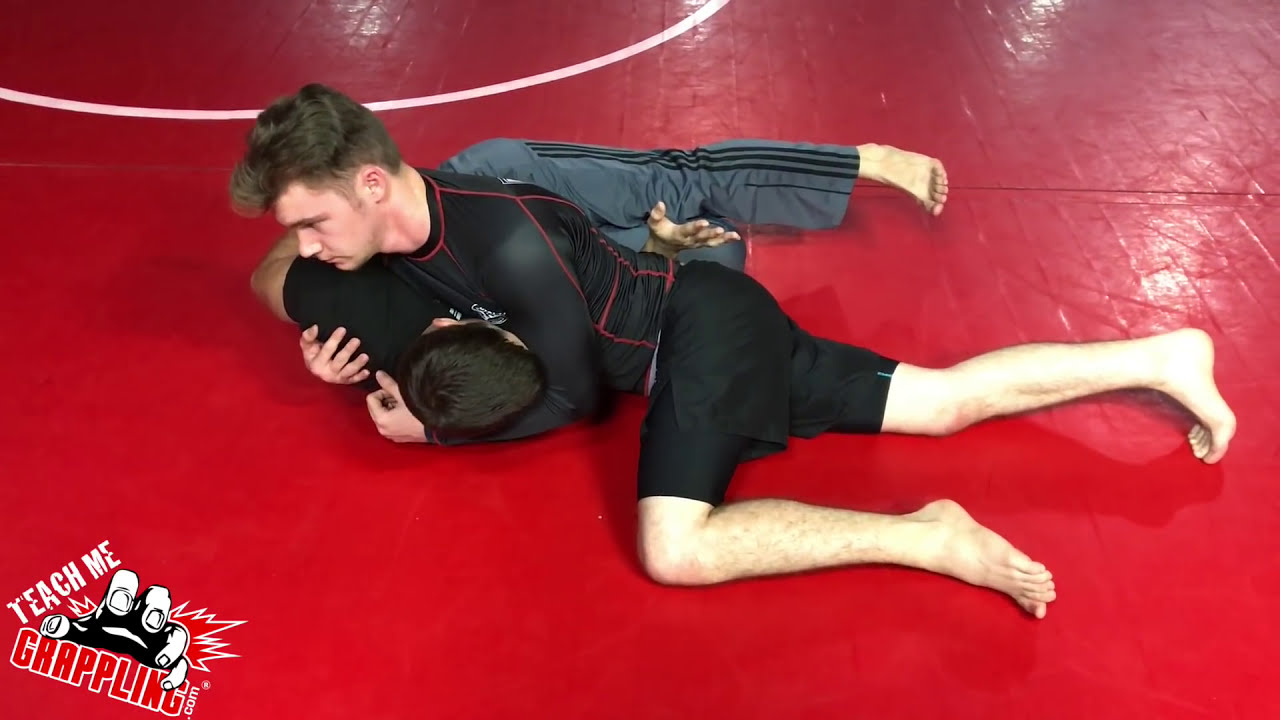
The side control position is one of the most dominant positions in BJJ, often leaving the person underneath feeling trapped and desperate for an escape. Understanding the mechanics behind escaping side control is essential for any practitioner looking to improve their game and increase their chances of survival on the mat.

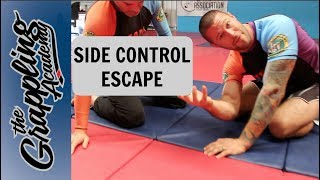
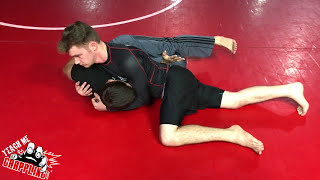
Professor John begins by explaining the importance of creating a strong frame from the bottom. He demonstrates how to effectively use your arms and elbows to create space and prevent your opponent from maintaining a tight grip on you. By establishing a solid frame, you can create the necessary leverage to initiate your escape.

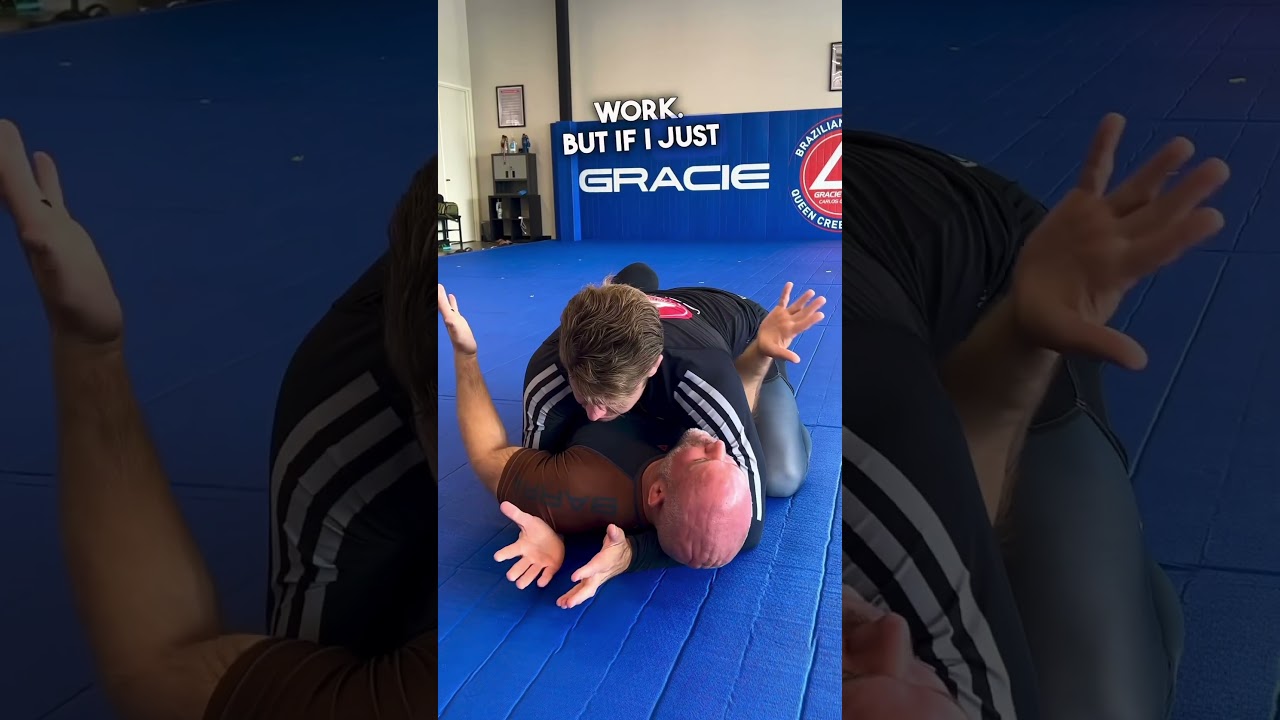
Next, we dive into the hip escape, a fundamental movement in BJJ that allows you to regain control and create space between you and your opponent. Professor John breaks down the mechanics of the hip escape, providing detailed instructions on how to execute the movement correctly. He emphasizes the importance of using your hips and legs to generate power and momentum, enabling you to escape and transition to a more advantageous position.

Throughout the video, Professor John provides insightful tips and common mistakes to avoid when attempting to escape side control. He emphasizes the need for patience and technique, rather than relying solely on strength and athleticism. By understanding the intricacies of the side control frame and hip escape, you can overcome even the most skilled opponents.

Whether you are a beginner or an experienced practitioner, this BJJ lesson is a must-watch for anyone wanting to improve their escapes from side control. Professor John’s clear and concise instruction, combined with detailed demonstrations, make this video an invaluable resource for anyone looking to enhance their BJJ game.

So, if you’re tired of feeling stuck and helpless in the side control position, join Professor John in this comprehensive lesson and learn the essential tools to escape and regain control. Don’t miss out on this opportunity to level up your BJJ skills and become a more well-rounded and effective practitioner.

BJJ Submissions

WHY SIGN UP?

Free sign up gives you access to
8089
Video Techniques FREE
See your watch history
Stats on each category
Graphs and Watch Progress
Leader Boards
Plus much more to come
Sign in / Register Free

About us

A team of BJJ enthusiasts, curating videos for the benefits of others.

Contact us

[email protected]

Quick Links

  • Chokes
  • Joint locks
  • Grappling Positions
  • Takedowns & Sweeps
  • Leg Attacks
  • Strength & Conditioning for BJJ
  • Shop
  • My Account
  • Contact

Connect

  • Instagram
  • TikTok
  • Facebook
  • Twitter
Submission Searcher - MMA & BJJ Techniques
(c) 2023 - Submission Searcher | Privacy Policy | Submission Searcher Limited - Company No. 15178996