Skip to content
Contact us
Login
Join Now
Menu
Home
Chokes
Chokes
Front Headlock Series
Front Headlock Series (Bottom)
Head and Arm Chokes (Arm-Triangle Chokes)
Leg Triangle Chokes
Miscellaneous Chokes
North-South Chokes
Rear Chokes
Side Control Chokes
Gi Chokes
Collar Chokes (Back-Takes)
Collar Chokes (Closed Guard)
Collar Chokes (Open Guard/De La Riva)
Collar Chokes (Side Control/Knee on Belly)
Lapel Lasso/Spider Guard Chokes
Lapel/Worm Guard Chokes
Miscellaneous Gi Chokes
Guillotine Choke
Arm-Triangle to Mounted Guillotine
Anaconda to Guillotine Roll
Counter Single Leg to Flying Guillotine
Flying Guillotine
Guillotine Choke Entry
Guillotine Crank
Guillotine to D’arce Transition
Guillotine from Half Guard
Rubber Guard to Guillotine
Crucifix Chokes
Standard Crucifix
Reverse Crucifix
Turtled Opponent Chokes
Gi-Based Chokes
No-Gi Chokes
Flying Chokes
Flying Armbar
Flying Guillotine
Flying Triangle
Joint locks
Arm locks
Arm Bars
Compression Locks
Arm Crush
Bicep slicer
Forearm Slicer
Tricep Slicer
Shoulder Lock
Americana Variations
Kimura Variations
Plata Variations
Miscellaneous Variations
Spinal locks
Full Spine
Lumbar
Neck/Cervical
Thoracic
Wrist Locks
Straight Wrist Locks
Bent Wrist Locks
Rotational Wrist Locks
Twisting Wrist Locks
Compressive Wrist Locks
Miscellaneous Wrist Locks
Combinations
Arm & Neck
Grappling
Guard
Side Control
Closed Guard
De La Riva Guard
Reverse De La Riva Guard
Guard Retention
Guard Variations
Lasso Guard
Open Guard
Mount
High Mount
Low Mount
S-Mount
Technical Mount
Back mount
Guard passing
Guard Break Responses
Guard Recovery
Top Guard Passes
Top Guard Pass Variations
Half Guard
Half Guard
Deep Half Guard
Z-Guard (Knee Shield)
Lockdown
Butterfly Guard
Basic Butterfly Sweep
Butterfly to Deep Half Guard Entry
Butterfly to Half Guard Transition
Butterfly to SLX (Single Leg X) Transition
Butterfly to X-Guard Transition
Shin-to-Shin Guard Entry
Single Leg from Butterfly
Back mount
Body Triangle
Foot on Hip Escape
Hooks in
Shoulder to Mat Bridge and Roll
Two-on-One Hand Control
Bottom Mount
Elbow Escape
Foot Drag to Half Guard
Upa/Bridge and Roll
North south
Basic North-South Position
North-South Choke
North-South Chokes
Armbar from North-South
Other Positions
Knee on belly
Rubber Guard
Spider Guard
Turtle Position
Wrestling Positions
X-Guard
Back Control Variations
Over-Under Grip
Seatbelt Grip
Takedowns & Sweeps
BJJ Takedowns
Berimbolo to Back Take
Collar and Ankle Pick
Collar Drag
Elevator Hook Sweep
Hip Bump Sweep
Flower Sweep (Pendulum Sweep)
Knee Tap
GI Takedowns
Collar and Sleeve Trip
Belt Grip Sumi Gaeshi
Lapel and Ankle Pick
Lapel Feed to Back Take
Double Lapel Grip Takedown
Cross Grip Takedown Variations
Sweeps
Closed Guard Sweeps
Half Guard Sweeps
Open Guard Sweeps
Scissor Sweep
Tornado Sweep
Single Leg X-Guard Sweep
X-Guard Sweep
Deep Half Guard Sweep
Throws
Sumi Gaeshi (Corner Counter)
Ushiro Goshi (Rear Hip Throw)
Ashi Guruma (Leg Wheel)
Deashi Barai (Advancing Foot Sweep)
Harai Goshi
Kata Guruma (Shoulder Wheel or Fireman’s Carry)
Wrestling takedowns
Single Leg Takedowns
Double Leg takedowns
Arm Drag
Bear Hug
Granby Roll
Inside Trip
Peterson Roll
Snap Down
Leg Attacks
Leg Lock Positions
50/50 Guard
50/50 Ankle Lock
50/50 to Inside Sankaku (Honey Hole)
Inside Sankaku (The Saddle)
Outside Sankaku
DOJ (Double Outside Jeopardy)
Ashi Garami
Outside Ashi Garami
Cross Ashi Garami
Inside Ashi Garami
Reverse Ashi Garami
Floating Ashi
Leg lock Submissions
Leg locks
Calf Slicers
Estima Lock
Ankle Locks
Kneebars
More Leg lock Submissions
Shin Locks
Toe Holds
Hip Locks
Leg Knot / Game Over
Heel Hooks
Inside Heel Hook
Outside Heel Hook
Inverted Heel Hook
Reverse Heel Hook
S&C for BJJ
All Videos
Gi or NoGi
Gi
No Gi
MMA
Belt Level
White Belt
Blue Belt
Purple Belt
Brown Belt
Black Belt
Attack or Defence
BJJ Attacks
BJJ Defences
Contact us
Checkout
Submit A technique
0
MMA
Home
MMA Techniques
1243
MMA
[category_total_hours]
Search for:
Video Length:
Video Length
1 to 5 Minutes
5 to 10 minutes
Over 10 Minutes
Under 1 Minutes
Attack or Defence:
Attack / Defence
BJJ Attacks
BJJ Defences
Progress in
MMA
:
0%
Sign up free to track your progress!
Sign up for
Free
and access
8089
Video Techniques
Watch history
User Stats
Progress
Sign in / Register Free
Filter Gi or No Gi:
MMA
Filters
Filters
Video Length
- Select Video Length -
Under 1 Minutes (646)
1 to 5 Minutes (314)
5 to 10 minutes (196)
Over 10 Minutes (73)
Belt Level
- Select Belt Level -
White Belt (56)
Blue Belt (3)
Brown Belt (411)
Black Belt (776)
Attack or Defence
- Select Attack or Defence -
BJJ Attacks (945)
BJJ Defences (298)
Gi, NoGi, MMA
- Select Gi, NoGi, MMA -
Gi (809)
No Gi (1214)
MMA (1243)
Filter Techniques
Reset
Show
(
1243
)
Cancel
Filter Techniques
Reset
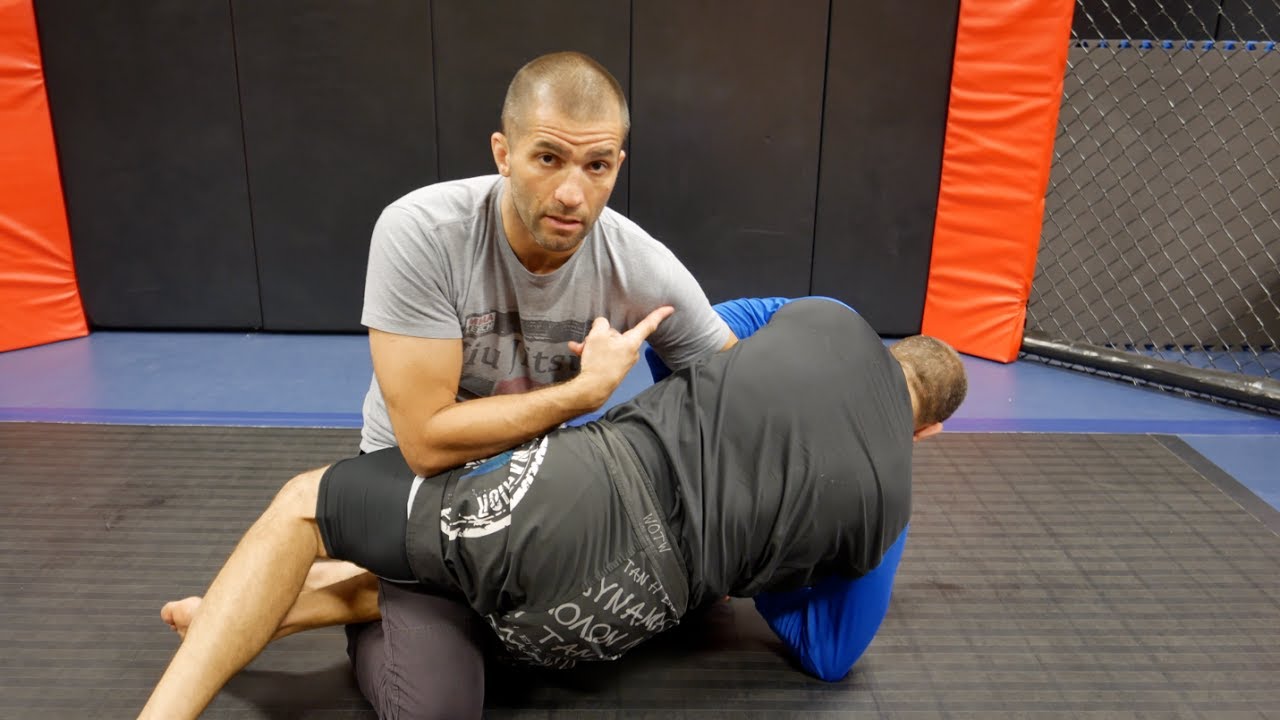
How to Avoid Being Caught in a Kimura: Learn This Easy Counter Move
0:44
Belt Level:
Black Belt
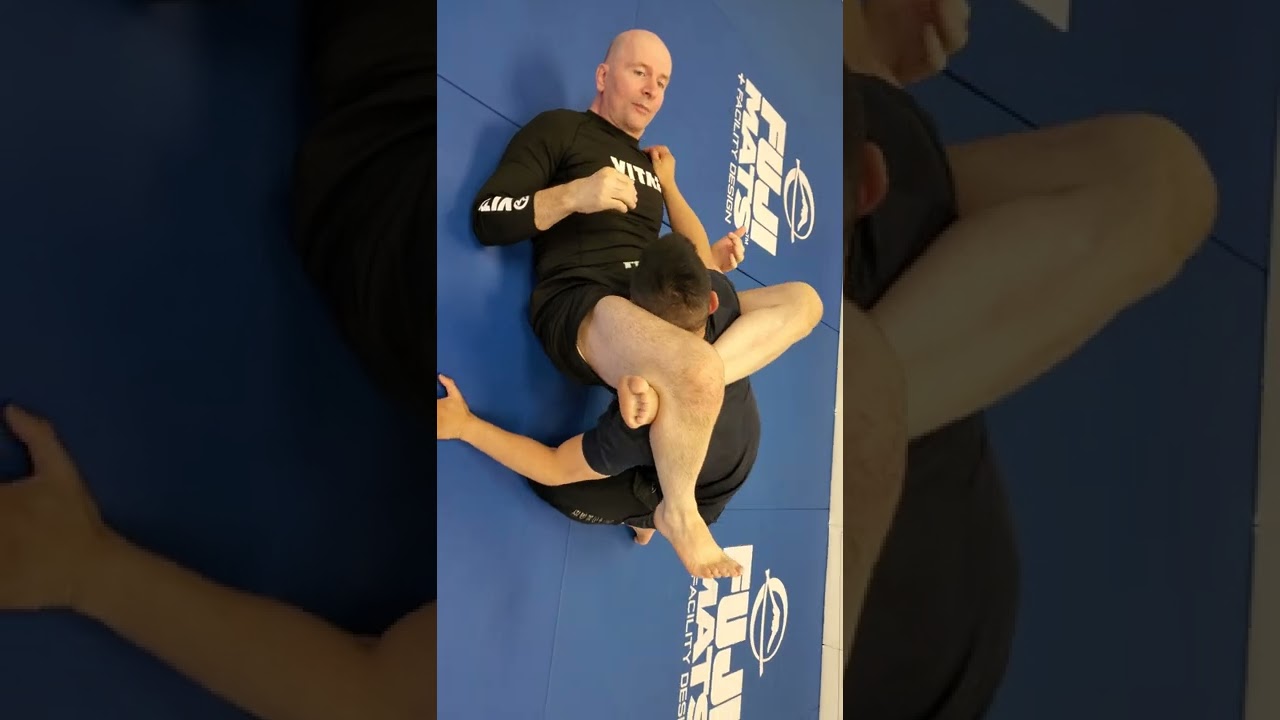
Kimura Techniques: Mastering the North South Choke Setup from Side Control
0:25
Belt Level:
Black Belt
The Ultimate Guide to Mastering the Teepee Choke as a Counter to Defend the Regular Triangle
0:6
Belt Level:
Black Belt
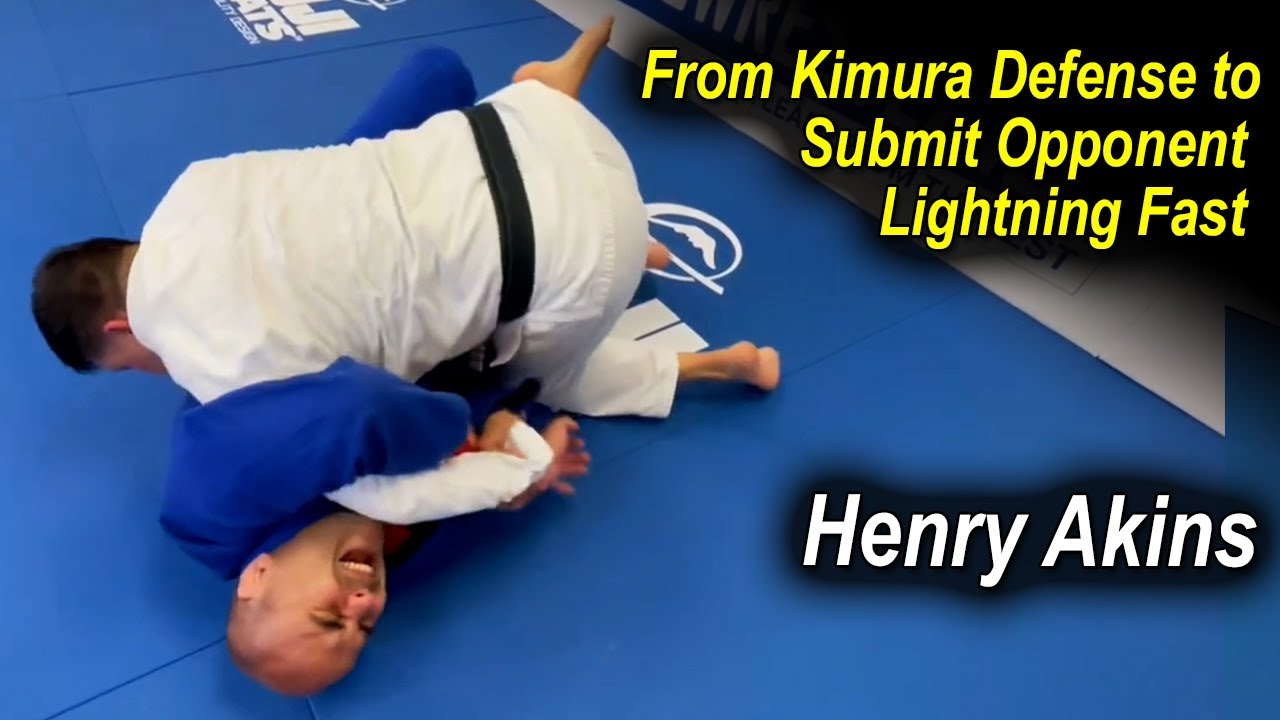
Mastering the Lightning Fast Kimura Defense for Submissions: A Comprehensive Guide by Henry Akins
6:59
Belt Level:
Black Belt
Mastering the Kimura Defense and Counter from Half-Guard: A Comprehensive Guide
3:40
Belt Level:
Black Belt
Learn Kimura Techniques Tutorial by John Danaher
0:47
Belt Level:
Black Belt
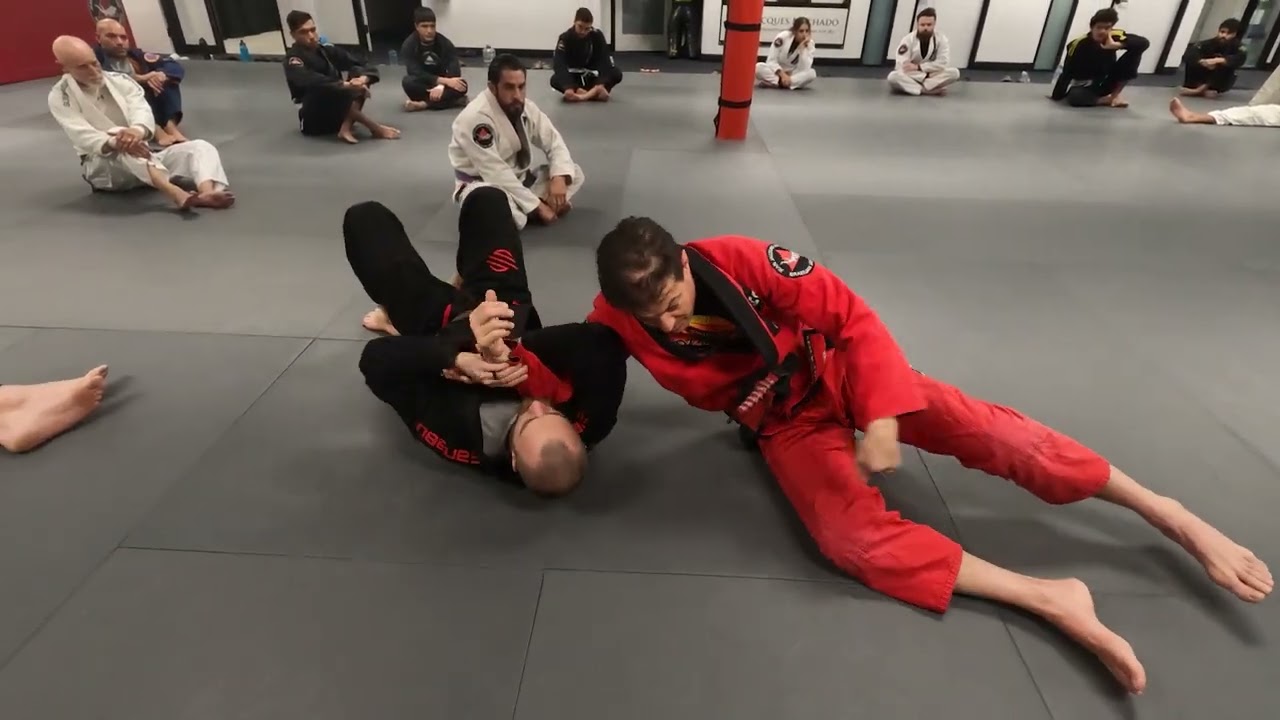
Kimura Defense Principles: A Complete Guide for Both Defenders and Attackers
8:18
Belt Level:
Black Belt
Mastering the Mounted Triangle Defense: A Step-by-Step Guide
3:14
Belt Level:
Black Belt
Mastering Mounted And Front Triangle Techniques: A Guide from intheclassroom.nickortizjiujitsu.com
7:8
Belt Level:
Black Belt
Defending with the Inverted Triangle: Mastering the Bottom Position
13:15
Belt Level:
Black Belt
How to Execute an Inverted Triangle Choke Setup to Counter The Over Under Guard Pass
2:57
Belt Level:
Black Belt
How to Master the Aggressive Bottom Side Reverse Triangle Move
0:54
Belt Level:
Black Belt
Reverse Triangle: A Detailed Guide to Part 3
0:32
Belt Level:
Black Belt
How to Master the Back Control Triangle in BJJ
0:54
Belt Level:
Black Belt
The Ultimate Guide to Defending the Body Triangle in Jiu Jitsu
0:44
Belt Level:
Black Belt
BJJ White Belt Achieves Inverted Triangle Submission in Under 60 Seconds – Beginner Absolute Division
1:9
Belt Level:
Black Belt
How to Perform an Inverted Guard Triangle Choke: Step-by-Step Guide
0:34
Belt Level:
Black Belt
Mastering the Triangle Choke from Armbar – A Step-by-Step Guide
0:22
Belt Level:
Black Belt
The Renzo Roll: A Powerful Omoplata Escape for BJJ Drills [Shorts]
0:53
Belt Level:
Black Belt
Mastering the Evil Wristlock: A Jiu-Jitsu Short Guide
0:11
Belt Level:
Black Belt
Older posts
Newer posts
←
Previous
Page
1
…
Page
4
Page
5
Page
6
…
Page
63
Next
→